Tips and “tricks” (like what I did there?) for documenting Halloween

Around this time last year, I was receiving countless messages from friends begging for some quick and simple pointers for photographing Halloween. I pulled together this blog post using images from several years back. Writing this last year just before trick-or-treat time really made me bummed out that I didn’t pull my camera out for Halloween 2016, but it was just the motivation I needed to make sure that I documented our 2017 quest for candy.  

I received such good feedback on that post I shared last year, that I decided to write another for this year. So, I give you “Tips for photographing your Halloween like a pro (take two).” If you are shooting in Manual mode (which I highly recommend), pay special attention to the image captions — because that’s where I’m going to share my reasoning for selecting the settings I chose.

OK — so first. The most important tip (that is a repeater from last year) but I cannot stress this enough. The light, y’all. Pay attention to the light. Plan to take your pictures when the natural light is soft and pretty. There is this magical hour photographers refer to as “golden hour” and it begins the hour before sunset. If you’re local to Oviedo, the sun is going to set at 6:40 p.m. this year (thank you, Google) so I plan to head out around 5:45 and spend the first hour or so focusing on getting some adorable pictures.

I’ll start with some traditional portraits (because we all know once the kids start running loose to collect all the candy stopping for a portrait is a long-shot).

Camera Settings: ISO 400, f/2.8, SS 1/1,000. I generally start shooting at ISO 400 outdoors during golden hour. I could have certainly gone lower, but I like to have some wiggle room with my shutter speed since I’m photographing kids, and my camera …

Camera Settings: ISO 400, f/2.8, SS 1/1,000. I generally start shooting at ISO 400 outdoors during golden hour. I could have certainly gone lower, but I like to have some wiggle room with my shutter speed since I’m photographing kids, and my camera handles noise very well so I know 400 is a good starting point for me.

My aperture selection of 2.8 here was intentional because I wanted to blur out my background a bit and really have the focus on madison. I knew since i was up close, I didn’t want to shoot too wide open (my lens here goes to 1.4) because if she or I moved a bit, I might have missed focus on her beautiful eyes.

My selection of 2.8 was just a safe aperture where I knew I was likely going to nail focus and still achieve some blur in the background. I selected my ISO and aperture first, and The shutter speed here is just where I needed to put it to expose this image properly.

also i’m not yelling at you. Photo captions only show up in all caps. Ugh. Squarespace…

Once I get those out of the way with, we begin our trick-or-treating. From this point on, I’ll transition to the “fly-on-the-wall” approach and just let the kids enjoy running door-to-door. I don’t ask the kids to smile for the camera anymore but I might guide them with some basic prompts that will help my ability to tell stories through my lens.

Camera settings: ISO 1,250, f/2.2, SS 1/250.You can tell, compared to the shot above, that my ISO changed significantly. That’s because it was getting darker. Since I was losing light, I had to crank up my ISO. I’ve you’ve gone through my mentoring …

Camera settings: ISO 1,250, f/2.2, SS 1/250.

You can tell, compared to the shot above, that my ISO changed significantly. That’s because it was getting darker. Since I was losing light, I had to crank up my ISO. I’ve you’ve gone through my mentoring classes you know I had two other choices — open up my aperture or lower my shutter speed — but I chose to raise my ISO because I didn’t want to risk ending up with an out-of-focus image or an image with motion blur.

So, I set my shutter speed here to 1/250 first. I knew i wanted it over 1/200 since madison was moving. Once I got my shutter speed as low as I would allow it, I adjusted my aperture a little to let more light in — but that wasn’t enough. So, I cranked my ISO as high as I needed to until I ended up with a properly exposed image.

Some questions I might ask are:

  • Show me the candy you just got at that house! (Here, I would take a picture of just the candy in their hands.)

  • Can you hold your sister’s hand so she doesn’t get scared? (I would take a picture of the girls holding hands walking down the sidewalk or toward a front door.)

  • I think that house might almost be out of candy! Run toward the door! (Here, I would aim to capture the motion of running.)

  • Do you see any Snickers in that bowl of candy? (This makes their little hands pause a bit and might possibly give me the opportunity to take a picture of hands in a bucket of candy.)

In the image below, I let Maddie walk toward the door, but I stayed behind to capture the scene. I just love how I got a lucky moment of no other children in the frame. I tend to over-shoot and take a lot of pictures of the same scene. I like having many options before selecting “the one.” And, the reason why I selected this one is because I love how she’s in the final third of the frame, and how she is between the two columns of bricks. I also loved how she was holding her dress up, like the princess she is.

Camera settings: ISO 1,250,F/2.2, sS 1/250Here, my settings are exactly the same as the above shot — and that’s because this was taken minutes after the other. The light didn’t change much, and I was already prepared for movement with my 1/250 shutt…

Camera settings: ISO 1,250,F/2.2, sS 1/250

Here, my settings are exactly the same as the above shot — and that’s because this was taken minutes after the other. The light didn’t change much, and I was already prepared for movement with my 1/250 shutter speed — so I left my camera as is and kept on clicking.

This was un-prompted, but the kids were so excited to go door-to-door that they were literally running from house-to-house. This was a memory I didn’t want to forget, so of course I took a picture.

Camera settings: ISO 2,000, F/2.0, SS/ 1/400What changed here? Now, she is running. And she’s running fast. So, I need a higher shutter speed to freeze the movement. Because I cranked up my shutter speed (blocked light), I also had to crank up my IS…

Camera settings: ISO 2,000, F/2.0, SS/ 1/400

What changed here? Now, she is running. And she’s running fast. So, I need a higher shutter speed to freeze the movement. Because I cranked up my shutter speed (blocked light), I also had to crank up my ISO to let some light back in.

With documentary photography, my personal opinion is that there is a lot of waiting for the “right” moment. I took several pictures last year of the kids at various doors, but this shot was the one I had been going for. Where the entire group was huddled together at the same door, waiting for someone to open it and greet them with candy. If you’re patient, the frame-worthy moments will happen. You just need to wait for them, and be ready!

Camera settings: ISO 3,200, F/2.2, SS 1/400And, it’s getting darker. so my iso is going up. looking back on this, I could have lowered my shutter speed here — because they’re pretty much standing still at the door and then that would have allowed me…

Camera settings: ISO 3,200, F/2.2, SS 1/400

And, it’s getting darker. so my iso is going up. looking back on this, I could have lowered my shutter speed here — because they’re pretty much standing still at the door and then that would have allowed me to lower my ISO — but I know my camera handles high ISO well so I didn’t bother.

I believe this was shot using one of the prompts above. I probably asked Madison to see if they had any Snickers for mommy.

Camera settings: ISO 3,200, F/2.0, SS 1/125Yikes, it is getting darker. so here, I chose to lower my shutter speed instead of raising my ISO more. As you can see, I’m very low at 1/125, and this is usually a signal to me that there isn’t enough ligh…

Camera settings: ISO 3,200, F/2.0, SS 1/125

Yikes, it is getting darker. so here, I chose to lower my shutter speed instead of raising my ISO more. As you can see, I’m very low at 1/125, and this is usually a signal to me that there isn’t enough light left and I’m minutes from putting my camera away for the night.

This is one of my favorite shots from 2017. The light wasn’t ideal (because, it was almost gone) but I just LOVED that this home had a smoke machine going and I knew it would make for some awesome spooky pictures. Sometimes, you just need to take the shot even if you don’t know how it will come out. You may surprise yourself.

Camera settings: ISO 6,400, F/2.0, SS 1/125But, when I saw this set up, I couldn’t put the camera down yet. I don’t dare lower my shutter speed below 1/125, so up the ISO goes.

Camera settings: ISO 6,400, F/2.0, SS 1/125

But, when I saw this set up, I couldn’t put the camera down yet. I don’t dare lower my shutter speed below 1/125, so up the ISO goes.

Don’t forget to take pictures of the details, too! On Halloween, you’re bound to find cool decorations with spooky effects. I was loving this neighbor’s set up, and the way the smoke photographed.

Camera settings: ISO 6,400, F/ 2.0, SS 1/125And this was the final shot of the evening. Don’t forget the details!

Camera settings: ISO 6,400, F/ 2.0, SS 1/125

And this was the final shot of the evening. Don’t forget the details!

Once it gets dark, I pretty much put the camera away and just enjoy the moments. I think it’s super important to find balance between documenting those special occasions but also actually being present as well.

I hope this was helpful. For more tips, check out last year’s post here.  

Five Tips for Photographing Halloween Like A Pro!

It’s been two years since I’ve been motivated to photograph Halloween with my girls. I mean, technically, I could have photographed last year – but it was dark and raining in Costa Rica. ¡La lluvia no es buena para las fotografías!

The year prior to last, I did pull my camera out for a few shots, but only for portraits of the costumes (remember Kenzie the cupcake? OMG. Sooo tiny and bald!).

Ashley_Rogers_Photography_Orlando_Non-Posed_Newborn_Family_Lifestyle_Photographer_0146.jpg

Anyone who knows me or follows my work knows I love to tell stories with my pictures, and last time I really captured the entire story of trick-or-treating Maddie was two and Kenzie was in my belly. C

A few friends and Click and Capture alumni have reached out over the past two weeks asking if I have any tips for photographing Halloween. Instead of responding to each individually, I promised to put together a blog post for some very basic tips for photographing your kids trick-or-treating. Well, in usual Ashley Rogers fashion, I’ve waited until the last possible second. But I work best under pressure. So here goes nothing….

1)    Safety First. Maybe it’s being back to work in the corporate world, but I feel it is necessary to say that the first thing you should always consider when taking pictures outdoors with lots of excited and distracted kids (and drivers) roaming the street is to be mindful of your surroundings. Please, don’t be too distracted by your quest for the perfect image. No image is worth anyone getting hurt.I have no image to share with tip one, because I am always safe. Haha <3

2)    Time your “head out time” according to the sunset! You can google “Sunset on October 31, 2017 in Oviedo, Florida” for example and amazing Google will tell you the exact time it will set. For the best light, you want to plan to head out trick-or-treating the hour before sunset. Where I live, the sun will be setting at 6:40 p.m. So I plan to head out around 5:45 -6. Any sooner, you might end up with really harsh light (if it isn’t cloudy) and it can be difficult to take photos in harsh light. Once the sun dips low enough (starts to happen the hour prior to sunset) you get nice, even, golden light – and that’s much more flattering.

Ashley_Rogers_Photography_Orlando_Non-Posed_Newborn_Family_Lifestyle_Photographer_0147.jpg

3)    Be mindful of composition. Looking back at some of my photos from two years ago, a lot of what I’m seeing in them that makes them seem less “technically strong” is my composition. There are simple things you can do to make an image stronger. Like in this image, if I would have stepped back a bit, I wouldn’t have chopped her feet off. Her tap shoes are part of her costume, hence part of the story. Look before you click. If you’ve chopped off a leg or an arm, take a step back and try the shot again – limbs included!

Ashley_Rogers_Photography_Orlando_Non-Posed_Newborn_Family_Lifestyle_Photographer_0150.jpg

And in this shot, I had her right in the center of the frame. This one would have been stronger if I would had positioned my camera differently. If i would have taken a few steps to my right (to put her on the first third of the frame), gotten lower to the ground and shot her straight on (so the garage door would be the background instead of the random patch of grass) it would have made such a difference here!

Ashley_Rogers_Photography_Orlando_Non-Posed_Newborn_Family_Lifestyle_Photographer_0149.jpg

4)    Don’t forget the candid shots. Of course, all moms want the “look at me and smile” shot but don’t put the camera down after you’ve checked that off the list. Some of my favorite images from two years ago are the candid ones of Maddie checking out her candy, strolling on the sidewalk, walking up to the door of a neighbor’s house to trick or treat. Seeing these takes me right back to that moment two years ago. My, how fast time flies.

Ashley_Rogers_Photography_Orlando_Non-Posed_Newborn_Family_Lifestyle_Photographer_0153.jpg
Ashley_Rogers_Photography_Orlando_Non-Posed_Newborn_Family_Lifestyle_Photographer_0151.jpg
Ashley_Rogers_Photography_Orlando_Non-Posed_Newborn_Family_Lifestyle_Photographer_0152.jpg

5)    Just say no to pop up flash. I know, your fancy camera has a pop up flash and it triggers automatically when it needs to in auto mode. Makes your life so much easier. I get it, I do. But please, just try. Just TRY to avoid using that thing. Pop up flash is not flattering. If you’ve never shot in manual mode, do not try tomorrow. Just don’t do it – you will get frustrated trying to figure out what all the numbers mean on your own and give up.  If you have shot in manual but you’re a little rusty, I cannot tell you the magic combination of numbers to use because it’s all about the light you have available to you. But, I would guess that you can try to set your ISO between 400-800 at the start of the evening, your aperture wide open if you’re on a kit lens or 2.8 if you have a nice prime (or wider if your confident in your ability to shoot wide open), and then adjust your shutter speed. If your shutter speed is able to stay above 1/250 with the combination of ISO and aperture you’ve chosen – great. If not, crank the ISO – but don’t dip the shutter. I repeat, do NOT let your shutter speed go too low. You will likely end up with blurry images.  And remember, as the light goes away (as it gets later) you will need to crank the ISO. Your settings at the beginning of the night will be different than the settings at the end of the night.

POP UP FLASH. JUST SAY NO!

POP UP FLASH. JUST SAY NO!


IF that was gibberish to you but you’re motivated, you can put your camera in Aperture Priority and set the aperture as wide open as your lens allows and that will likely get you better results than auto – especially as the sun starts to get lower (when the pop up flash tends to come out).  Then, you can sign up for my mentoring and I’ll teach you everything you need to know about taking control of your DSLR camera. <3


I hope these tips were helpful and I wish everyone a safe and happy Halloween!

Storytellers Blog Circle April

Those who know me know that I have a passion for photography – and those who know me well may even call it an obsession. And I don’t deny it – I never will. I admitted it here first; I am obsessed with photography. Whether I’m doing school drop off, taking a trip to the grocery store, heading to the park in the afternoon or venturing out on a vacation getaway, my camera and a couple of my favorite prime lenses are always by my side (I’m still working on declaring a favorite).  

When I left my job in the corporate world two years ago, I had this void of feeling what my “thing” was.  I was the communicator, the writing and editing guru. I used words to tell my stories. But that responsibility left when we moved to Costa Rica for my husband’s career, and I was left wondering how my stories would continue. What was my “thing” now? And that’s when I decided to attempt my second 366 project (yep – overachiever over here starting on a leap year).  My “thing” quickly became obvious – to me and to others.

For an entire year, I used daily pictures to tell my story. My story of leaving the United States with my two girls, aged 3 and 1 at the time. Storytelling through my photographs helped keep my family and friends feel close to us – even when they were in another country. With just one picture a day, mindfully selecting the focal length of my lens, aperture and shutter speed, I could ensure that my family and friends didn’t miss a thing.

When I was approached about joining the Storytellers Blog Circle, a monthly educational series, I immediately jumped on board.  The hard part was selecting one image to feature, and to explain the thought and technical process behind the final product. So, I paused to think about why photography is so important to me. I closed my eyes… and the image that I saw was this –  one of my favorites from my project last year. This right here, this is why it’s important. Because moments like this come and go, but, because I clicked that shutter, I have it forever.

So let me tell you a little bit about this image. This is my Poppy and my oldest daughter. My Poppy and my Grandmere have, for as long as I can remember, held Sunday breakfast at their house. One of the saddest things about moving away was knowing how many Sunday breakfasts we would miss. This image was taken during one of our visits home. We were all eating on the deck on a Sunday morning, with harsh sun and a distracting backdrop. But, I still had my camera (Nikon D750) and my trusty Sigma 24 mm 1.4 by my side. This moment happened on its own. I did not direct, I just observed them interacting and got my camera set up with the appropriate “safe” settings for the light I was working with (ISO 800, f/3.2, SS 1/400), so I would be ready at any moment to click. I intentionally closed down my aperture a bit because I was quite close to them, and wanted to make sure I didn’t blow the shot and miss focus by shooting wide open. I also kept my shutter speed up because they were playing and wanted to be ready to freeze motion if I needed to.

And, this is what I got. No wow factor, right? I almost didn’t want to feature the image because more processing went into this than my normal photographs, but I also wanted to make a point to share that processing can also enhance a story. I’m so glad I had faith in this image and didn’t just give up or not take the shot at all because the light and backdrop wasn’t flattering.

While this is quite a dramatic before and after, the processing was quite simple. I simply converted this to black and white, and then darkened the background so I could create some negative space and remove distracting elements. Now, when I see this image my eyes go straight to where I want them to go – to the moment that I captured, of my Poppy and his first great grandchild. They may be 89 years apart, but they sure do know how to play, laugh and love. I can feel it when I look at this image, and I hope you can too. This is why storytelling is important.

If you’d like to see more storytelling images, click through this blog circle to learn about the thought process behind the other talented featured artists!  Next up, here,  my friend Rebecca Hunnicutt Farren from Hunnicutt Photography. 


Five Reasons Why I Choose to Shoot Often | Orlando Lifestyle Photographer

Last year, I completed my first 366 project. While I did want to throw in the towel at times, it was such a rewarding project and I am so thrilled that I finished! Yes, there were days when I dreaded bringing the camera everywhere I went. There were times when my children were less-than-cooperative. There were moments when my friends were annoyed.  I get it, I really do. But, when all is said and done, it was one of the best things I could have done for my family and here are five reasons why.  

1)    Document the Memories.

This is by far the most important thing to me. My family had such a cool opportunity – how can I pass up documenting the heck out of it? Moving from Orlando, Florida, to Santa Ana, Costa Rica, came with lots of change and adventure – and several moments worth remembering forever.

Like this one right here.  My sweet big girl, so excited to get on an airplane to move to a new country. There were certainly a few eye rolls when I pulled my “big” camera out to take pictures in a chaotic airport – heck, even I was a little embarrassed. But as I look back on this image more than one year later, I have an overwhelming feeling of joy. I’m happy that I have this moment to look back on forever – one of the last moments before the big “unknown” adventure. One of the final moments before we got on an airplane as a family of four for the first time. This image right here was the final chapter of our first story, as well as the first page of a new chapter in our lives.
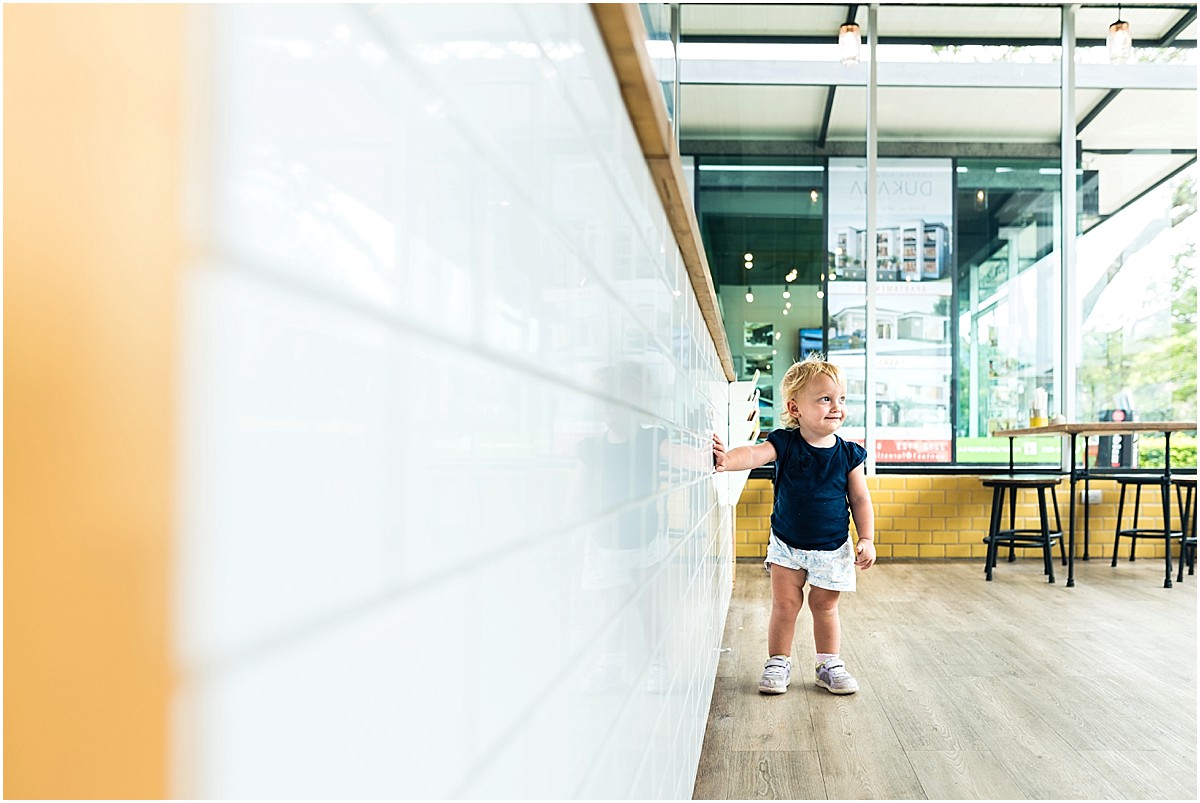

little girl waiting looking at plane at Orlando International Airport

2)    Capture the Growth.  

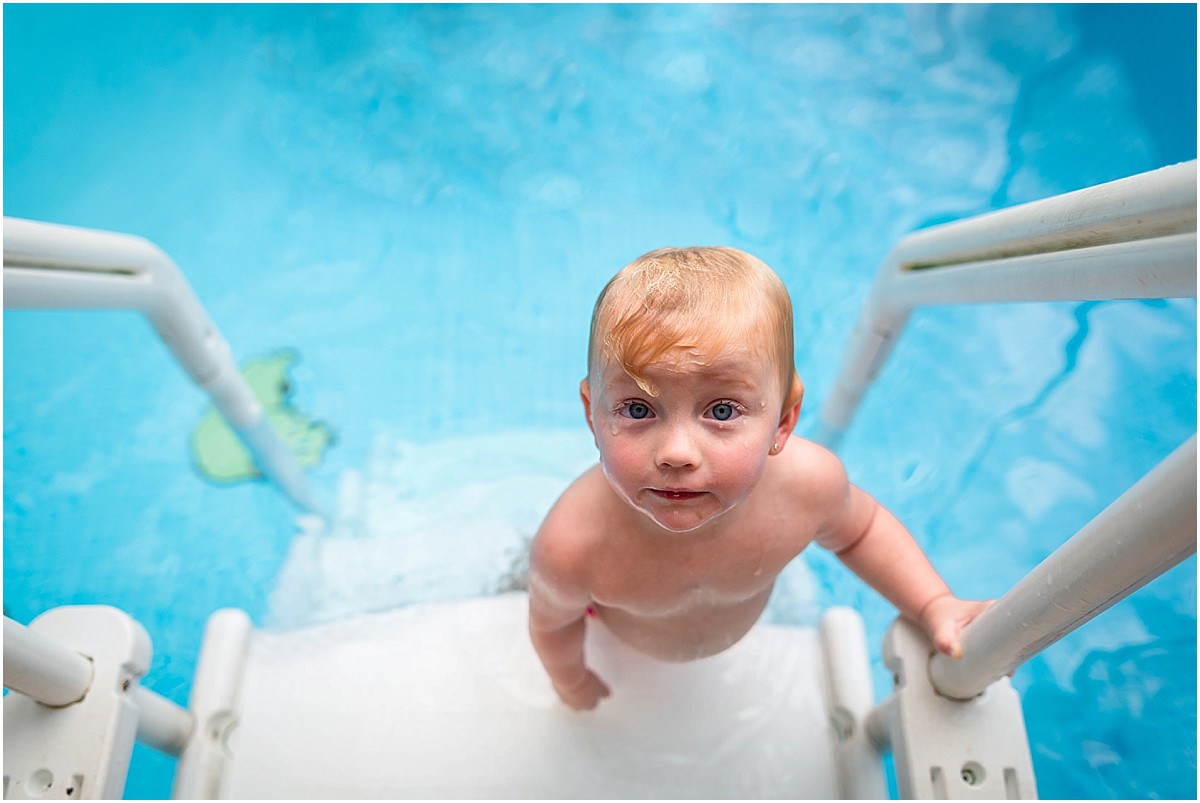
One of my favorite things to do in my free time (haha, free time?) is to look back at my old pictures of my kids. Before sitting down to write this blog, I came across a shot I took of Mackenzie at the beginning of this year. Look how tiny this chubby little bald baby in diapers was!! Madison has grown a lot too, but the baby – WOW. So I looked at this image and reminisced about this exact moment, and then wanted to see more. So I kept scrolling through my image collections and I was able to see her growth in a series of images. Mind blown.

3)    It’s for the Family Too.

While I do shoot for myself, I would be lying if I said I didn’t do it for family too. I am VERY close with my family, and that was the absolute hardest part of leaving Oviedo. My in-laws lived in the neighborhood across from us, and we spent at least one weekend a month visiting my side of the family in Fort Lauderdale since it was just a quick drive down I-95. While Costa Rica isn’t far from a “miles” perspective, it’s certainly more challenging (and expensive) to see our loved ones on an impromptu basis. So I shoot for them too. So they don’t feel so far away. So they can also see the kids grow. So they get a glimpse of what our life in the Pura Vida is like.

girl laying on the beach in Uvita, Costa Rica

 4)    Work Hard, Play Hard.    

Before moving to Costa Rica, I worked in Internal Communications for one of the largest technology companies in the world. Writing, editing and building communications plans was my first “thing.” While some days at the office were tough for sure, I felt a large sense of satisfaction knowing that I was really good at what I did—I had a purpose.

Leaving Orlando meant I also had to leave that job – and gosh – that was SO scary. I’m a worker by nature. Don’t get me wrong, I love spending time with my kids, but I can only handle so much play-doh, puzzles and coloring.

So I switched gears and filled that work gap with my photography. I gave it my all, as I always did with my former job. It was a win-win! The frequent shooting encouraged me to do fun things with the girls that I knew would make for great photographs.  And the evenings I spent editing often gave me such satisfaction. After the lovely (torturous) dinner, bath and bed routine, I was able to sit at my desk and reflect on the fun times we had throughout the day. I not only felt so thankful for the opportunity I have to be able to stay home with the girls now, but I also often felt proud of myself as an artist.

little blonde girl making heart-shaped cookies in her home in Costa Rica

5)    See Your Skills Soar!

Practice makes perfect, right? Do you have any idea how much you will improve as a photographer if you make it a point to shoot often – especially daily? I started this journey in 2014, when I got my first DSLR camera. I know it can be frustrating and easy to get discouraged when the pictures you are producing aren’t matching you vision, but nothing is mastered overnight. My journey with photography has taken a lot of practice, a lot of education and a lot of patience.

I was once a new mom with a nice DSLR camera and was disappointed with my pictures too, we’ve all been there! I combined my passion for photography with my passion for communicating and teach a four-week course on the basics of photography. I know first-hand that with a little bit of knowledge about the basics, you can take your photographs to the next level. If you’re interested in joining my February run of the class,  head on over to my learn page to learn more, read reviews and sign up!

Oh, and little one. I'm sorry for the shirt your Auntie Kristen made you, but there is not a chance! 

four year old wearing "No More Pictures" shirt in her home in Santa Ana, Costa Rica